Your kitchen is quiet, save for the faint hum of the refrigerator. You are staring at a bag of all-purpose flour, wondering if that shattering crust is actually possible in your basic oven. Good news: you do not need a heavy cast-iron pot to make it happen.
Most recipes claim a Dutch oven is mandatory, but that is not true. We are going to manipulate the moisture inside your oven instead, and you likely already have everything you need.
Fletcher stood in his kitchen staring at a dented aluminum baking sheet, convinced his basic equipment was the only thing standing between him and a perfect loaf. It is not. And it is not standing between you either.
The No-Knead Master Protocol: How to Bake Today
The beauty of this method lies in its simplicity. You trade active labor for passive time.
To begin, gather your pantry basics: all-purpose flour, active dry yeast, sea salt, and room-temperature water. You also need a standard rimmed baking sheet and a shallow metal pan which is like an old cake tin, that can handle high heat on the bottom rack of your oven.
How to Mix and Prep Your First Loaf
- Whisk the dry ingredients in a large bowl until the salt and yeast are evenly distributed.
- Add water and stir until a shaggy, sticky ball forms and no dry flour remains.
- Cover the bowl tightly with a damp cloth to keep the dough from drying out.
- Let the dough rest on the counter until the surface is dotted with bubbles and the size has doubled.
- Shape the dough gently on parchment paper, folding the edges toward the center.
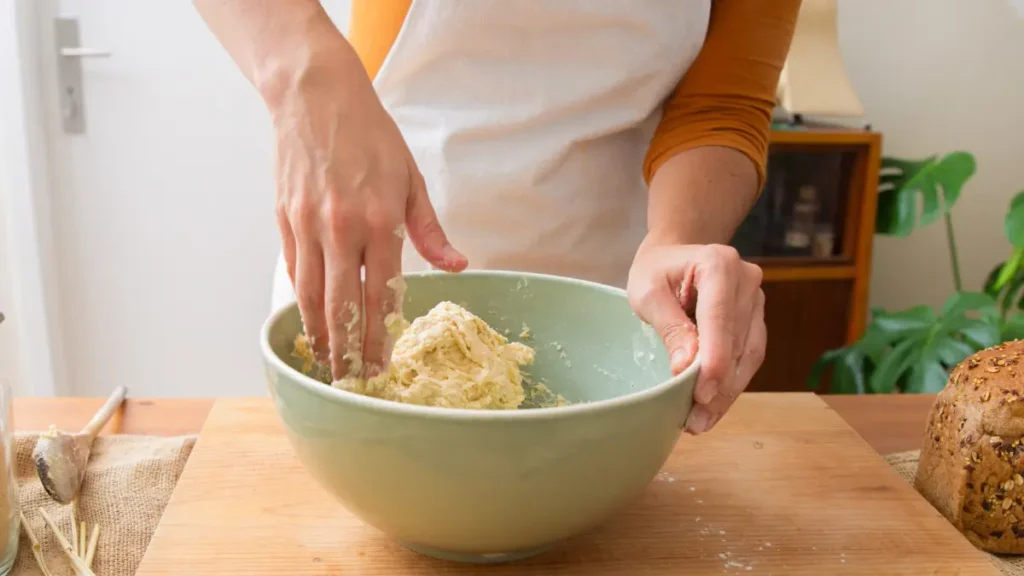
In a large mixing bowl, combine 3 cups of flour, 1.5 teaspoons of salt, and 0.5 teaspoons of yeast. Pour in 1.5 cups of water and stir with a wooden spoon. This dough looks messier than you expect. Resist the urge to add more flour.
Leave it alone until the surface is bubbly. This usually happens while you sleep.
Once the dough finishes its long rest, flour a piece of parchment paper. Gently scrape the bubbly dough onto the paper. Let this rest for a while longer while you prepare the oven.
Place your baking sheet on the middle rack and your empty metal pan on the rack directly below it.
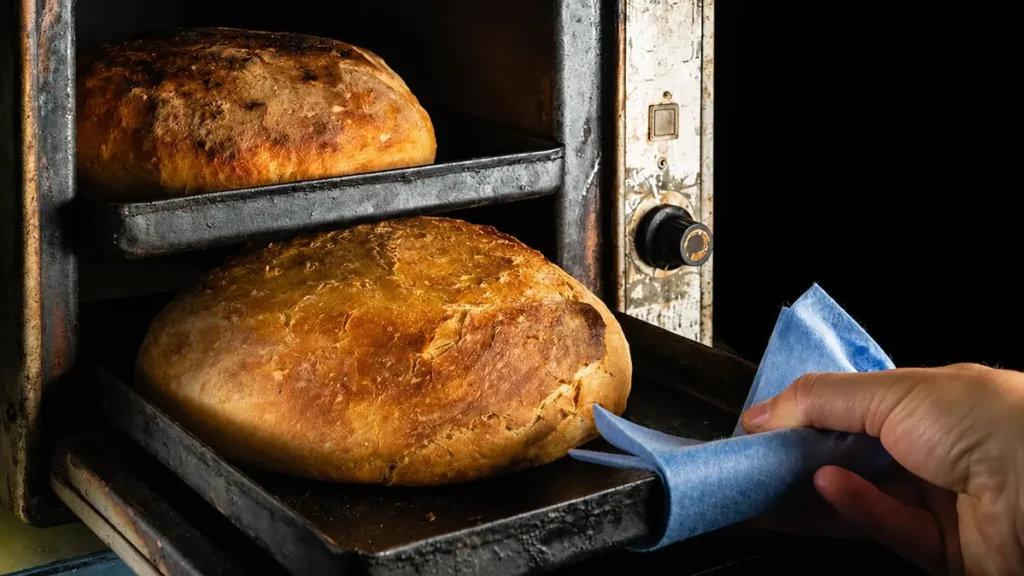
Turn your oven to 450°F. When the oven is hot, slide the parchment paper with the dough onto the preheated baking sheet. Immediately pour one cup of hot water into the empty pan on the bottom rack. Close the door quickly to trap the rising clouds.

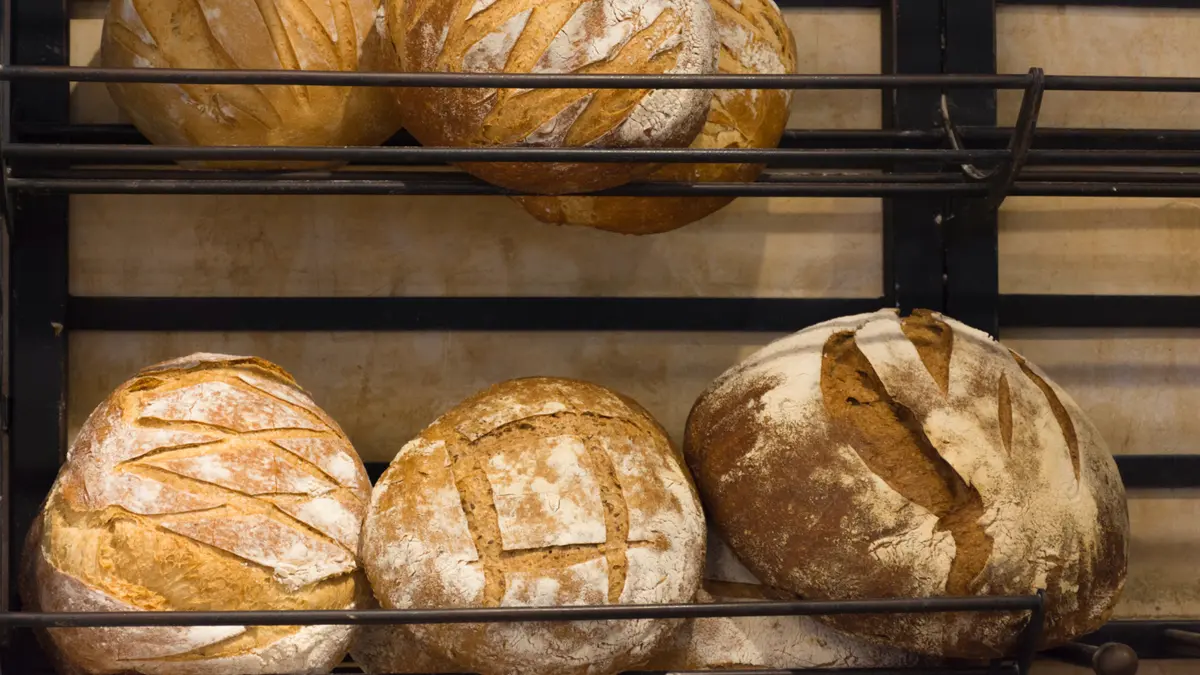
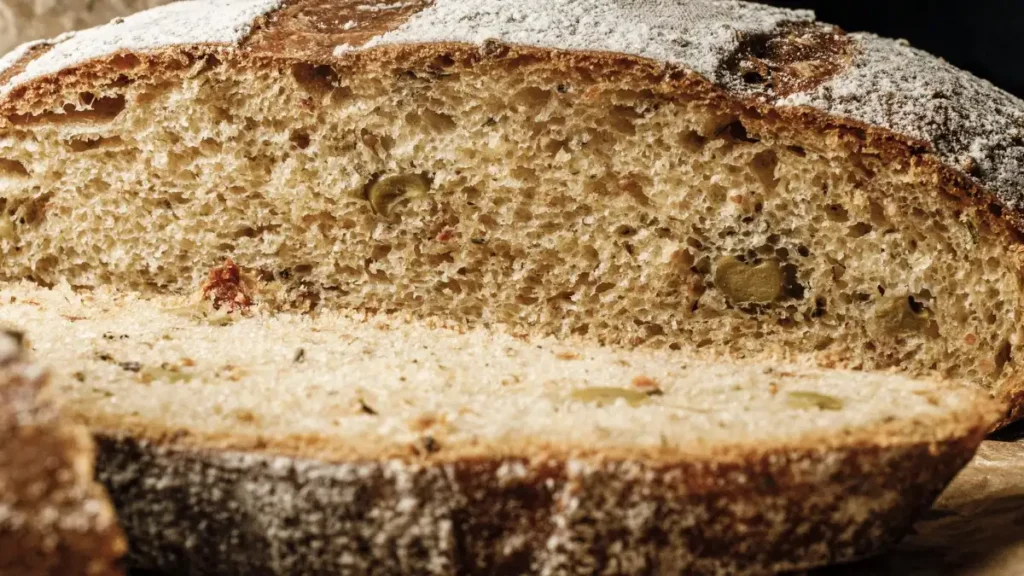
Bake the loaf until the crust is a deep, mahogany brown. It should sound hollow when you tap the bottom. If the top browns too quickly, drape a piece of aluminum foil over the loaf. Move it to a wire rack immediately.
Cutting into it now would be a mistake. The interior is still finishing its transformation. While you wait, you will notice a physical change in the air.
But even with the right steps, you might wonder why a simple pan of water can replace a heavy iron pot.
Steam, Starch, and Why Your Crust Actually Works
No-knead bread works because time replaces labor. Standard bread uses kneading to align gluten strands. No-knead bread gives those same strands all night to align themselves. The result is identical. The effort is not.
Time is a more effective "kneader" than your own hands.
Fletcher notices his palms are still dusty with flour as he watches the steam rise from his oven. He finally realizes that a dented aluminum sheet can perform just as well as heirloom cast iron when the science is right.
| Feature | Dutch Oven Goal | Your Replacement |
| Moisture Control | Traps internal steam | Water pan on lower oven rack |
| Thermal Mass | Heavy iron walls | Preheated heavy baking sheet |
| Crust Protection | Sealed lid | Foil tent for first 20 minutes |
The magic happens through starch gelatinization. This is the process where surface starches absorb water and swell into a glassy film. This "moisture shield" keeps the dough's skin soft.
It allows the bread to expand fully before it hardens into a final crust. Think of it like a runner wearing a cooling vest to go further before hitting a wall.
Without this steam, your crust locks down before the loaf can fully expand. That bag of flour you were staring at this morning becomes a pale, dense disappointment instead of the shattering crust you came here for.
Wetter dough actually makes a crispier crust. This is the hydration paradox. More internal water means more steam escaping through the surface during the bake. This creates that professional, crackly exterior.
The pot does not bake the bread. The steam trapped inside the pot does. This is why your previous loaves looked right but felt wrong when you cut into them. The steam was escaping.
Moisture alone won't save you if the heat underneath the dough isn't ready when it matters most.
But moisture is only half of the equation. The air bubbles inside your loaf rely on how you handle the dough's hidden network.
Beyond the Pot: Mastering Thermal Mass and Moisture
Vera scans the recipe for the hydration secret she has been missing. She is tired of the dense, brick-like loaves that hurt her jaw. She realizes that the key is not just adding water to the dough. The key is keeping it there during the first critical minutes of the bake.

To achieve this without a lid, you must maximize the heat of your baking surface. Preheat your baking sheet for at least thirty minutes before the dough goes in.
This stored heat hits the bottom of the dough instantly. This causes "oven spring," which is the rapid expansion of gas bubbles.
Think of the gluten network like a spiderweb catching air bubbles. If the heat is not intense enough at the start, the web collapses. Your bread stays flat and heavy.
How to Gauge the Perfect Proof
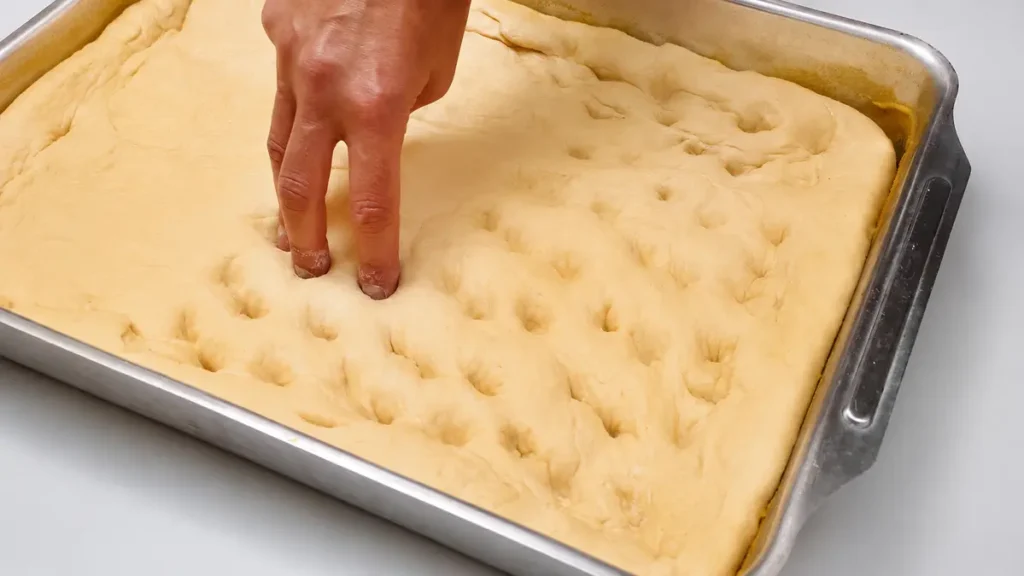
- Shake the pan gently. The dough should jiggle like a bowl of jelly.
- Look for small, visible air pockets just beneath the surface of the skin.
- Press a floured finger into the side. The indent should remain visible.
- Ensure the dough looks "puffy" rather than dense or flat.
If the dough snaps back like a rubber band when poked, it needs more time to relax. This is why your previous loaves felt like a chore to chew. The gluten was too tight to let the air in.
Even with perfect timing, a few common slip-ups can turn a masterpiece back into a disappointment.
4 Common Mistakes That Kill Your Crust
Even with a solid plan, small slips can turn an artisan dream into a kitchen frustration. Most bakers struggle with crust softening. This happens when you store a warm loaf in a plastic bag too soon.
This traps residual moisture. It turns your crackly exterior into a gummy mess within the hour. Let the loaf breathe on a wire rack until it feels completely cool.
Another frequent culprit is under-preheating. If your baking sheet is not screaming hot when the dough hits it, you lose that immediate burst of lift. Always give your oven at least thirty minutes to stabilize.
| Mistake | Result | The Fix |
| Peeking | Temperature drop | Keep the door shut for 20 minutes |
| Too much flour | Dry, chalky crumb | Use a "spoon and level" method |
| Cold water | Slow fermentation | Use lukewarm water for the mix |
Using cold water can also stall your yeast. While a long ferment is great for flavor, starting with ice-cold liquid can push your timeline back. Aim for water that feels just slightly warm to your wrist. This ensures the yeast wakes up immediately.
How to Avoid the Most Common Crust Killers
- Store your cooled loaf in a paper bag or a cloth towel, never plastic, so the crust can breathe overnight.
- Set a timer for thirty minutes when preheating. Pull the dough out only when that timer goes off, not when the oven beeps ready.
- Fill a glass with tap water and dip your wrist in before mixing. It should feel neutral, not cold. If it feels cold, let it sit for ten minutes.
- Use the spoon-and-level method for flour: spoon it into the measuring cup and level with a knife. Never scoop directly from the bag.
Most bakers fix three of these mistakes and miss the fourth. That fourth one is the one that costs the crust.
The Steam Injection Plan: Crusty Bread Without a Dutch Oven
You are now the lead technician of your own kitchen. Vera smiles as she realizes a simple pan of water solved her texture issues. The "Steam Injection" method is a deliberate manipulation of oven physics .Timing is everything here.
Place your water pan on the lowest rack and your baking sheet on the middle rack during the preheat. The moment you pour the water matters more than every pan, rack, and oven brand combined.
The water will hiss and billow when it hits the pan. That sound means it is working. After twenty minutes the steam has done its job. Pull the pan out carefully.
This is when the Maillard reaction takes over, building the complex, nutty flavors of a dark crust. You are looking for deep mahogany. Not light golden brown.
But a perfect crust can still go wrong in the sixty seconds between the oven and your cutting board.
Your Questions Answered
What makes no-knead bread different from regular bread?
Time replaces physical labor. The long fermentation period allows gluten strands to align themselves naturally into a strong network without any kneading required.
What can I use instead of a Dutch oven for bread?
A preheated baking sheet replicates the bottom heat. A pan of hot water on the lower rack provides the necessary steam. You can also use a foil tent for the first 20 minutes to seal in moisture.
How do I know when no-knead bread dough is fully proofed?
It should look puffy and be dotted with small bubbles. A gentle poke with a floured finger should leave an indent that stays rather than springing back like a rubber band.
Can I use whole wheat or bread flour instead of all-purpose flour?
Whole wheat flour absorbs more water, so increase your water by two to three tablespoons to keep the dough at the right hydration level. Bread flour produces a chewier crumb because of its higher protein content. Both work with this method without changing the steam injection steps.
Conclusion
Creating a world-class loaf does not require an expensive pot. It requires an understanding of how moisture and heat interact. A preheated baking sheet and a simple pan of water are all you need to master the No-Knead Bread Recipe Without a Dutch Oven. This process proves that your technique is always more valuable than your gear.
Your Artisan Bread Protocol:
- The Mix: High-hydration dough (shaggy and sticky).
- The Wait: 12+ hours at room temperature until bubbly.
- The Prep: Preheat baking sheet and water pan for 30 minutes at 450°F.
- The Injection: Add boiling water to the pan as the dough goes in.
- The Finish: Bake to a deep mahogany brown and cool on a wire rack.
Fletcher finally hears the "crackle" of a loaf that looks like it came from a professional bakery. As the bread cools, the crust continues to "sing." This is a series of tiny, high-pitched pops that signal a perfectly baked structure. He realizes his grandmother's secret was not the pot she used. It was the patience she practiced. You have always been the one with the most information about your own kitchen. You made it work.