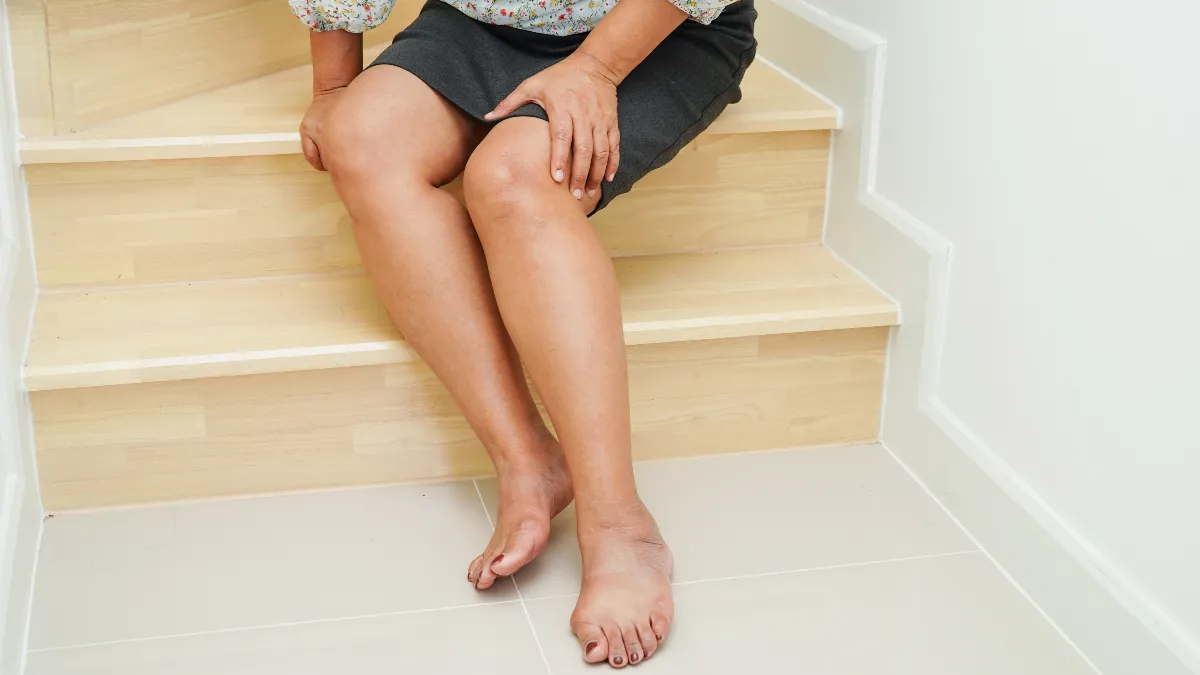
Every time you reach the bottom of a staircase and feel your knee buckle, that’s not just age. That’s a specific muscle switching off. You’re not falling apart. You’re not too old to fix it. One muscle in your inner thigh has stopped doing its job. And the good news is, you can wake it back up.
What that muscle is, why it quits on stairs, and gives you five exercises to rebuild it starting today, at home, with no gym required.
Why Your Knees Give Out on Stairs (It’s Not What You Think)?
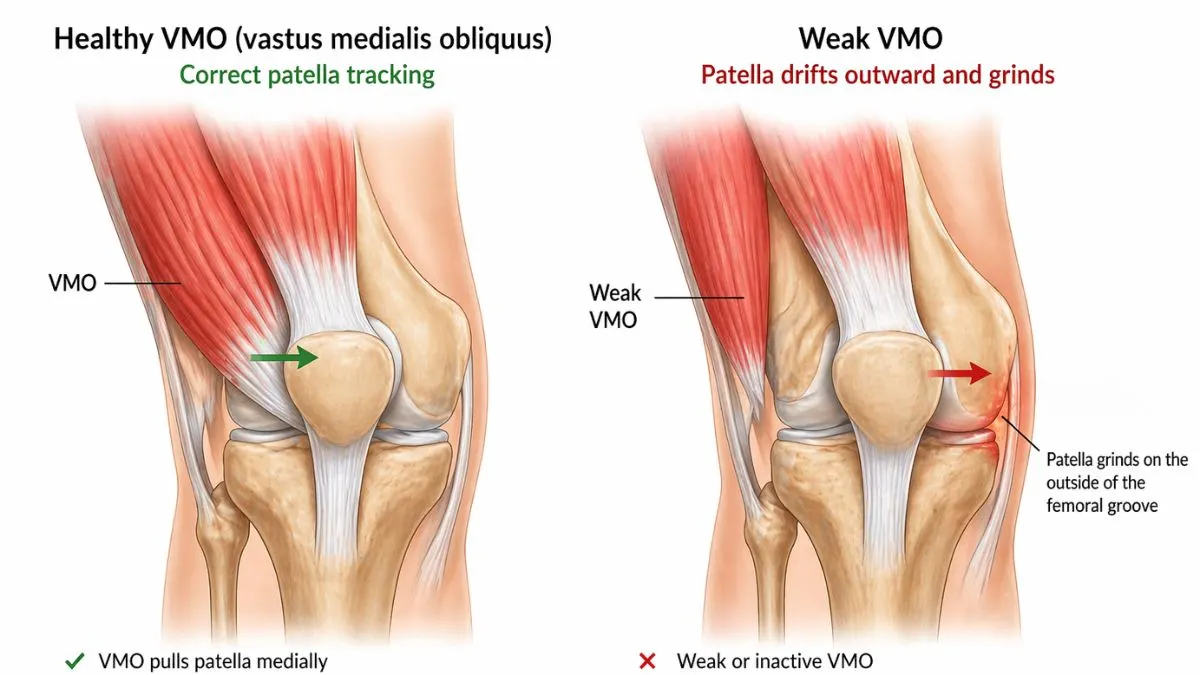
Most people blame age. I’m just getting older. But age alone doesn’t explain why stairs hurt more than flat walking. There’s something more specific going on. You have a small muscle called the VMO, short for Vastus Medialis Obliquus. It sits on the inner front of your thigh, just above your kneecap. It looks like a teardrop.
And it has one very important job: keeping your kneecap in the right spot as your knee bends and straightens. When the VMO is strong, your kneecap glides smoothly up and down its groove. When it’s weak, the kneecap drifts to the outside. That drift creates grinding, pain, and that awful giving out feeling, especially on stairs.
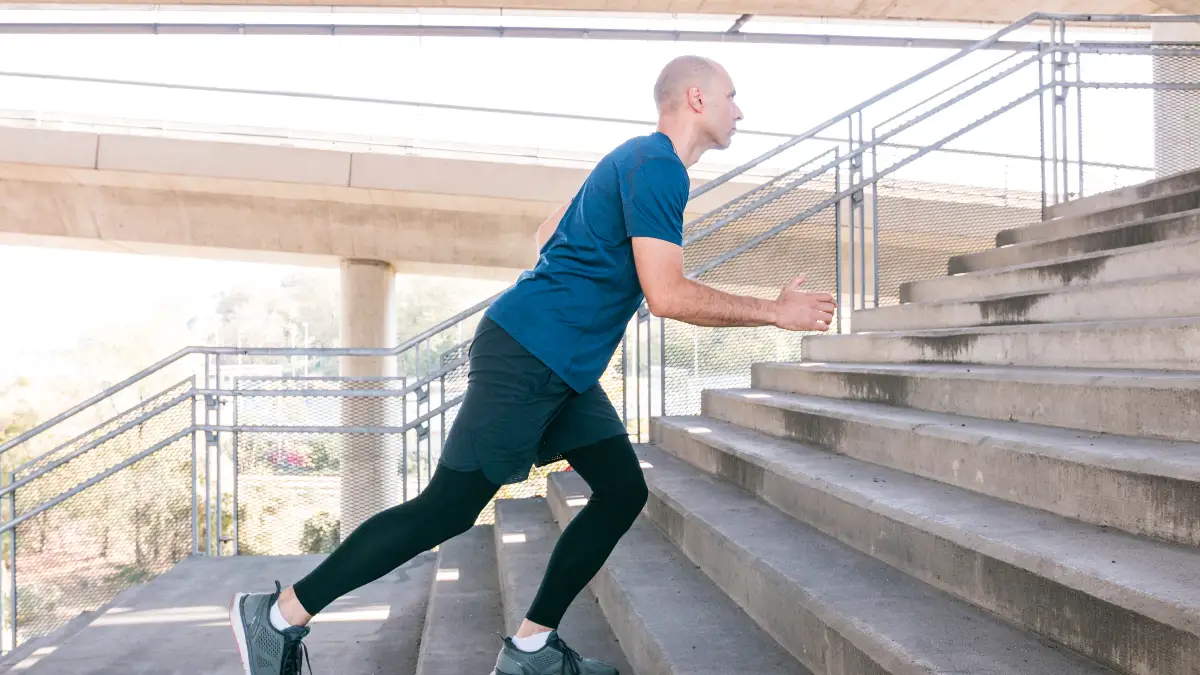
Why are stairs harder than walking? Climbing a step loads your knee at a much deeper angle than flat ground. The VMO has to work overtime. When it’s weak, you feel it immediately. And here’s the part that surprises most people: the VMO can start to weaken within 24 hours of a knee injury or swelling.
The brain literally turns down the signal to this muscle when pain is present. So one bad knee day can start a cycle that takes months to reverse if you don’t address it.
The numbers back this up:
- About 25% of adults over 45 deal with frequent knee pain. By age 65, that jumps to 37%.
- Knee pain has increased 65% over the last 20 years, not because people are weaker, but because more people are less active and carrying more weight on aging joints.
- Over 365 million people worldwide have knee osteoarthritis, the most common cause of knee pain in adults over 50.
What Is the VMO — And Why Does It Matter So Much for Stairs?
Think of the VMO as a guide rail on the inside of your knee. When it’s working, the kneecap stays centered. When it stops working, the kneecap slides outward and rubs against bone and cartilage. That’s the pain you feel. The VMO is part of your quadriceps the four muscles that run down the front of your thigh. But the VMO is different from the other three.
Its fibers run at an angle of roughly 50 degrees, not straight up and down. That angle is what makes it a stabilizer, not just an extender. It does most of its work in the last 15 degrees of knee straightening. That’s the locking out phase, the push you make as you rise a step.
You cannot fully isolate the VMO from the rest of the quad. Research is clear on that. But you can bias it. Certain movements make the VMO work harder than the other muscles around it. And strengthening your full quad always strengthens your VMO along with it. So the goal isn’t to isolate a single muscle.
The 5 Best VMO Exercises for Knee Pain on Stairs After 50
These are listed in order, from easiest to hardest. Start at Exercise 1 even if it feels too simple. It’s the most important one.
Exercise 1: VMO Activation (Quad Set with Towel Roll)
Difficulty: Beginner | Equipment: A rolled towel or small foam roller. This is the VMO wake up call. Before you can strengthen a muscle, your brain needs to find it again.
For many people over 50, especially those who’ve had knee pain or swelling, the VMO has gone quiet. This exercise turns it back on. It looks simple. It is simple. But it’s also the foundation every other exercise here is built on.
How to do it:
- Sit on the floor with both legs straight out in front of you.
- Roll a hand towel tightly and place it under one knee. The towel lifts the knee slightly off the floor.
- Press the back of your knee DOWN into the towel. Tighten your thigh muscle as you do this.
- Place your hand on the inner lower part of your thigh, just above and to the inside of your kneecap. You should feel a small muscle “pop” or firm up under your fingers. That’s the VMO.
- While pressing the knee down, lift your heel slightly off the floor. Hold for 5 to 10 seconds.
- Release slowly. Rest for a few seconds.
- Repeat 10 to 15 times. Then switch legs.
Tip for over-50 readers: Can’t feel the VMO firing? Try rotating your foot slightly outward before you press down. That small rotation biases the VMO and makes it easier to feel the contraction. Keep your hand on the muscle so you get that feedback.
Once you can feel the VMO reliably every rep, not just sometimes, you’re ready for Exercise 2. Don’t rush this. Some people need a full week of daily activation before the signal gets consistent.
Exercise 2: Seated Ball Squeeze Extension
Difficulty: Beginner to Intermediate | Equipment: A soft ball, rolled pillow, or small foam roller. The VMO shares its origin and attachment point with the hip adductor muscles, specifically the adductor magnus tendon. When you squeeze your knees together, you activate those adductors.
And when the adductors fire, they pull on the same attachment point as the VMO, triggering it to contract too. Research using EMG sensors devices that measure which muscles are actually firing confirms this: combining knee extension with an inward squeeze produces a higher VMO to outer quad activation ratio. In plain English, the inner muscle works more relative to the outer one.
How to do it:
- Sit upright in a firm chair with both feet flat on the floor.
- Place a soft ball, folded pillow, or foam roller between your knees at mid-thigh.
- Squeeze the ball gently but firmly. Keep that squeeze for the entire exercise.
- While holding the squeeze, slowly straighten ONE leg until it’s fully extended. Take 2 to 3 seconds to straighten.
- Hold the extended position for 3 seconds. Keep squeezing.
- Slowly lower the leg back down. Take 3 seconds to lower it.
- Do 10 to 15 reps on one leg. Then switch.
- Complete 2 to 3 sets per leg.
Tip for over-50 readers: Full extension does not mean forcing the knee back hard. It means the leg is straight, not hyperextended. If your knee is stiff, don’t push through the last few degrees. A straight ish leg is fine. Work within your comfortable range and it will expand over time.
Exercise 3: Controlled Step-Up and Step-Down
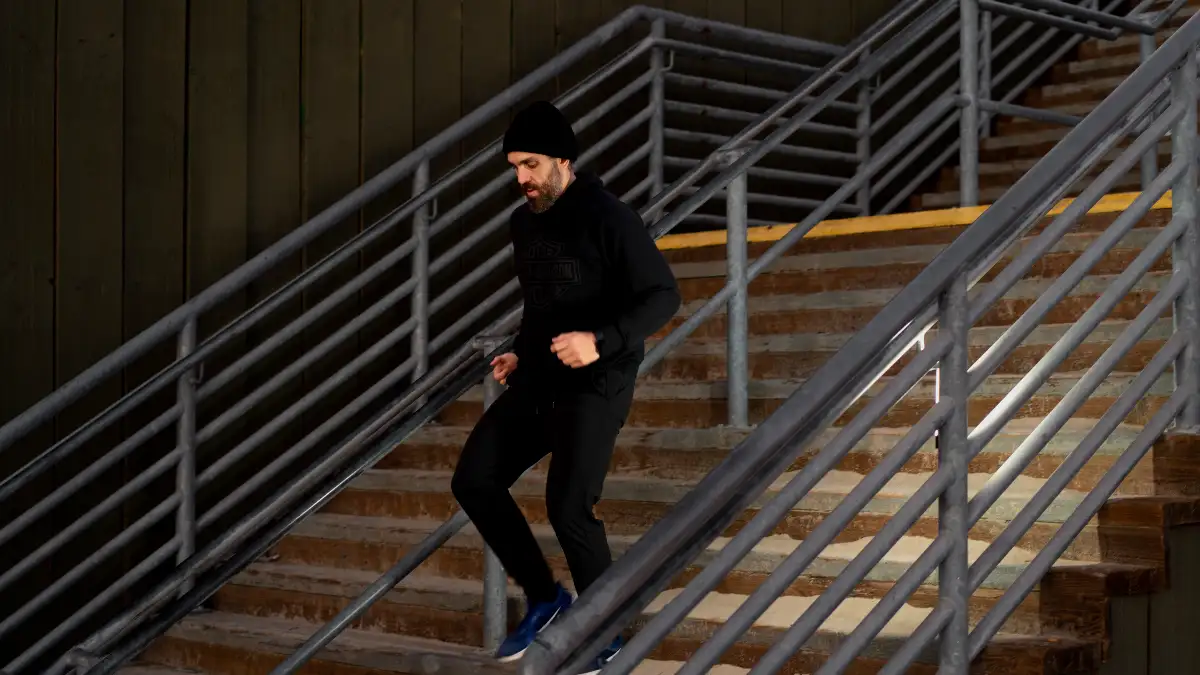
Difficulty: Intermediate | Equipment: A low step, one stair, or a thick, sturdy book stack. This is the most functional exercise in the list. It directly trains the movement that’s causing you problems going up and down stairs, but in a controlled, safe way. There are two parts to this exercise. The step UP going up works the VMO concentrically; it shortens as it contracts.
The step DOWN going down works it eccentrically, it lengthens while still contracting. The eccentric phase is harder. It’s also the part most responsible for stair pain. And it’s where the most strength is built.
Step-Up — how to do it:
- Stand in front of a low step, 4 to 6 inches is enough to start. A single stair works perfectly.
- Place your leading foot flat on the step. Heel down, whole foot in contact.
- Push through the HEEL of that foot, not your toes, to lift yourself.
- As you rise, keep your knee tracking over your second toe. Don’t let it cave inward toward the other leg.
- Step back down with control. Don’t drop.
- Do 10 reps on one leg, then switch.
Step-Down — the harder, more important part:
- Stand on the step with one foot. The other foot hangs off the edge.
- Very slowly lower the hanging foot toward the floor. Count 3 to 4 seconds going down.
- Watch your standing knee. It must NOT buckle inward as you lower. If it does, hold a wall for support and slow down even more.
- Lightly touch the floor with the hanging foot. Don’t rest weight on it. Push back up.
- Do 10 reps. Switch legs. Complete 3 sets per leg.
Tip for over-50 readers: Start lower than you think you need to. A thick hardcover book works. The lower the step, the less knee load. Build up the height over weeks, not days. The eccentric phase going down will feel hardest. That’s where the work is happening.
Exercise 4: Wall Squat with Ball Squeeze
Difficulty: Intermediate | Equipment: A wall, plus a ball or pillow. By this point in the program, you can activate the VMO and control a step. Now it’s time to load it under more body weight but safely, with wall support.
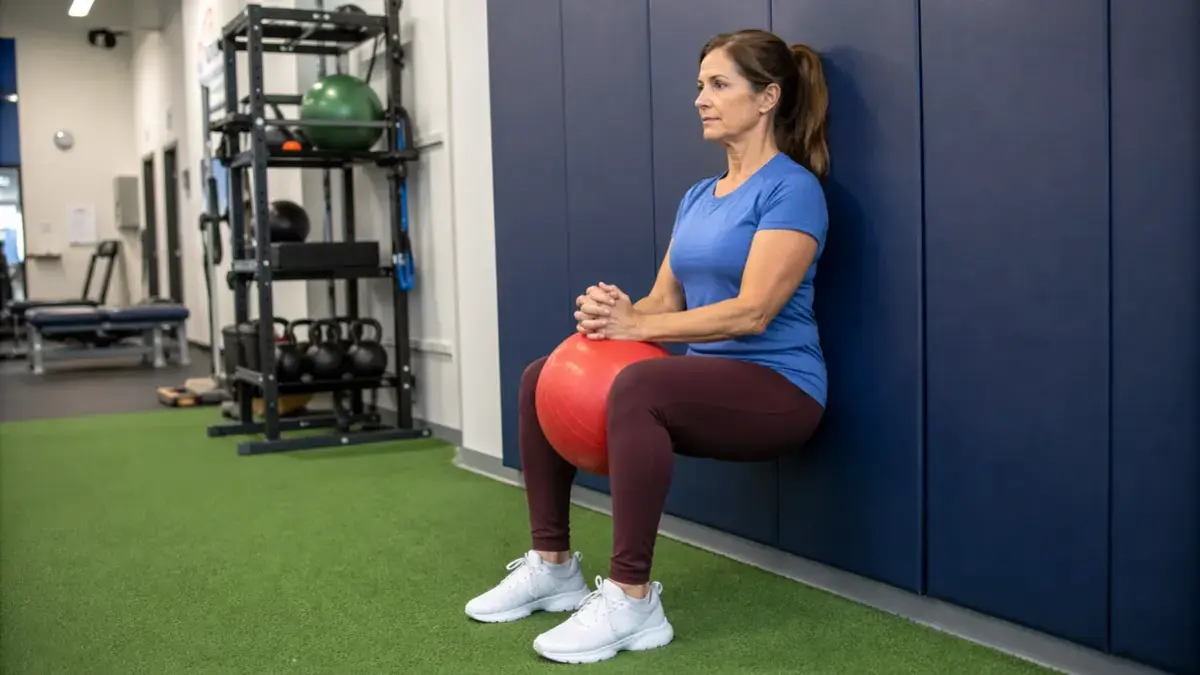
The wall squat takes away the balance challenge. The ball squeeze adds the adductor activation you learned in Exercise 2. Combined, you get a safe, effective way to load the VMO with more resistance than earlier exercises.
How to do it:
- Stand with your back flat against a wall. Feet shoulder-width apart, about 12 to 18 inches out from the wall.
- Place a soft ball or folded pillow between your knees.
- Squeeze the ball. Keep that squeeze throughout.
- Slowly slide your back down the wall. Go until your thighs are roughly parallel to the floor or as far as feels comfortable. Even 30 to 45 degrees of bend is effective.
- Hold the position for 3 to 5 seconds. Keep squeezing. Keep your back flat against the wall.
- Slowly slide back up. Take 3 seconds to rise.
- Complete 3 sets of 10 to 15 reps.
Tip for over-50 readers: If your heels lift off the floor, move your feet further from the wall. If you feel knee pain going down, reduce your depth. A shallow wall squat still works. You don’t need 90 degrees to get benefit. Work at the depth that’s pain-free, and extend it gradually.
Exercise 5: Twisted Leg Raise (External Rotation Straight Leg Raise)
Difficulty: Intermediate | Equipment: Optional 1 to 2 lb ankle weight. This is the precision exercise. It builds strength in the VMO through a long, controlled range, and the key detail is the foot rotation. When you turn your foot outward before raising the leg, you change the angle of pull on the VMO. The VMO has to work harder to lift and hold the leg in that position.

It’s not a dramatic movement. But it targets the right muscle with surprising accuracy. This exercise also mirrors the angle of force the VMO produces during the last phase of knee extension on stairs, which is exactly what you’re training for.
How to do it:
- Lie on your back on the floor or a firm mat. Bend one knee, foot flat on the floor. This protects your lower back.
- Keep the other leg straight.
- Rotate that straight leg outward about 20 degrees so your toes point to the side instead of straight up. Not far. Just a slight turn.
- Before you lift: tighten your thigh. Focus on the inner lower part. Feel the VMO engage first.
- Slowly raise the leg 12 to 15 inches off the floor. Count 2 seconds going up.
- Hold for 3 seconds at the top.
- Lower slowly, taking 3 to 4 seconds to go down. Do not drop the leg.
- Complete 10 to 15 reps. Switch legs. 3 sets per leg.
Tip for over-50 readers: If your lower back lifts off the floor when you raise the leg, you’re going too high. Lower the raise even 8 inches is fine. The rotation and the contraction matter far more than the height. Focus on feeling the inner thigh work, not on how high the leg goes.
How to Build This Into a Weekly Routine You’ll Actually Stick To?
Five exercises sound like a lot. It isn’t. The full routine, once you know the movements, takes about 20 to 25 minutes. But you don’t start with all five. You build in slowly.

Here’s a practical progression:
| Week | Exercises | Sets | How Often |
|---|---|---|---|
| Week 1–2 | Exercise 1 + 2 | 2 sets each | Every other day |
| Week 3–4 | Exercise 1–3 | 2–3 sets each | Every other day |
| Week 5–8 | Exercise 1–5 | 3 sets each | Every other day |
| Week 8+ | All 5 + ankle weight on Ex. 5 | 3 sets | 3–4 times/week |
Progression rules:
- Add reps before you add weight.
- Add weight before you increase difficulty.
- If an exercise causes pain in that session, drop back one level and try again next time.
Conclusion
Knee instability on stairs is not something you accept at 50 or 60 or 70. It has a specific cause. And that cause has a specific fix. The VMO, your inner quad muscle, has gone quiet. These five exercises turn it back on. They start gently, they build progressively, and they target the exact muscle responsible for keeping your kneecap stable on stairs.
You don’t need a gym. You don’t need expensive equipment. You need a towel, a pillow, and a single step. Start with Exercise 1 today. Set a timer for 10 minutes. That’s enough. Do it again in two days. Add Exercise 2 the following week. Build from there.
⚠️MEDICAL DISCLAIMER
This article is for informational purposes only. It does not replace medical advice, diagnosis, or treatment. The information covers VMO activation, knee tracking and stability, quad strengthening, knee osteoarthritis, eccentric and concentric movements, and progressive exercise routines including quad sets, ball squeezes, step ups/downs, wall squats, and straight leg raises.
Individual results vary based on age, health status, and fitness level. Before changing your exercise routine, diet, or supplement use, talk to your doctor or a qualified health professional first. If you experience chest pain, dizziness, severe joint pain, or any sudden symptom during or after exercise, stop immediately and seek medical care.