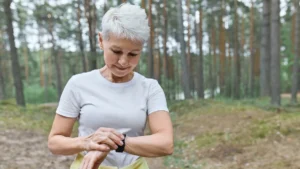
Your knees hurt. So you stop moving. But the less you move, the weaker your muscles get, and weak muscles put even more pressure on your knees. It’s a painful loop, and most fitness advice doesn’t help. Wall pilates breaks that loop. It builds deep core strength without loading your knee joints.
No squats. No lunges. No equipment. Just a wall, a mat, and 15 minutes. This guide shows you exactly what to do, how to do it safely, and how to build a simple weekly routine starting today.
Why Your Knees and Core Are More Connected Than You Think?
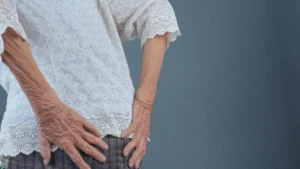
Most people treat knee pain as a knee problem. It’s often a core problem too. When your core muscles are weak, and after 50, they get weaker fast, your body shifts the load onto your joints. Your knees end up absorbing stress they were never meant to handle on their own.
Adults lose 0.5 to 1 percent of muscle mass every year after midlife. Between ages 65 and 80, that loss can hit 8 percent per decade.
Weak muscles mean poor support, poor balance, and more wear on your knee cartilage. On top of that, up to 30 percent of U.S. adults aged 45 and older already have knee osteoarthritis.
Peak incidence hits between ages 55 and 59. So if your knees have been bothering you, you’re not alone, and you’re not imagining it. The good news is that the right exercise targets both problems at once. Strengthen your core, and you take real pressure off your knees.
What Makes Wall Pilates Different From Other Exercises?
Wall pilates isn’t a trend. It’s a smart use of basic physics. When you lie on the floor with your feet on the wall, gravity works for you, not against you. Your knees aren’t bearing your body weight. The wall gives them support.
Your core still has to work, but your joints get a break. This is exactly why wall pilates for bad knees works when other exercises fail.
A 2025 systematic review published in the International Journal of Rheumatic Diseases found that Pilates significantly reduced pain in patients with knee osteoarthritis compared with no exercise.
Another meta-analysis published in August 2025 confirmed it’s safe with no serious side effects across multiple studies. You don’t need a reformer machine. You don’t need a gym. You need a clear wall, a non-slip mat, and the willingness to start slow.
The 4 Best Wall Pilates Exercises for Bad Knees
Exercise 1: Wall-Assisted Glute Bridge
What it works: Glutes, lower back, deep core muscles.
Why it’s safe: Your feet press flat against the wall. Your knees stay bent at 90 degrees. There is zero compression on the knee joint.
How to do it:
- Lie on your back, facing the wall. Walk your feet up until your knees are at 90 degrees, and your shins are parallel to the floor.
- Press your lower back flat into the mat. Draw your belly button toward your spine.
- Press your feet into the wall and slowly lift your hips — one vertebra at a time.
- Hold at the top for 2 to 3 seconds. Squeeze your glutes.
- Lower slowly. Repeat 10 to 12 times for 2 to 3 sets.
If it feels hard: Shorten the hold at the top. That’s fine. Build up over time.
Exercise 2: Leg Slides (Wall Reach)
Start with 5 reps per side as shown in the video, then build toward 8–10 as your core gets stronger.
What it works: Deep core (transverse abdominis), hip flexors, pelvic stability.
Why it’s safe: One leg stays supported at 90 degrees while the other slides. No weight goes through your knees at all.
How to do it:
- Lie on your back with both feet flat on the wall, knees bent at 90 degrees.
- Press your lower back into the mat and keep it there throughout the whole movement.
- Slowly slide one heel down the wall, straightening your leg as far as you can while keeping your back flat.
- Pause. Then slide the heel back up. Switch legs.
- Do 8 to 10 reps per side, 2 sets.
Common mistake: Letting your lower back arch off the floor. If that happens, don’t slide your leg as far. The back flat rule is non-negotiable.
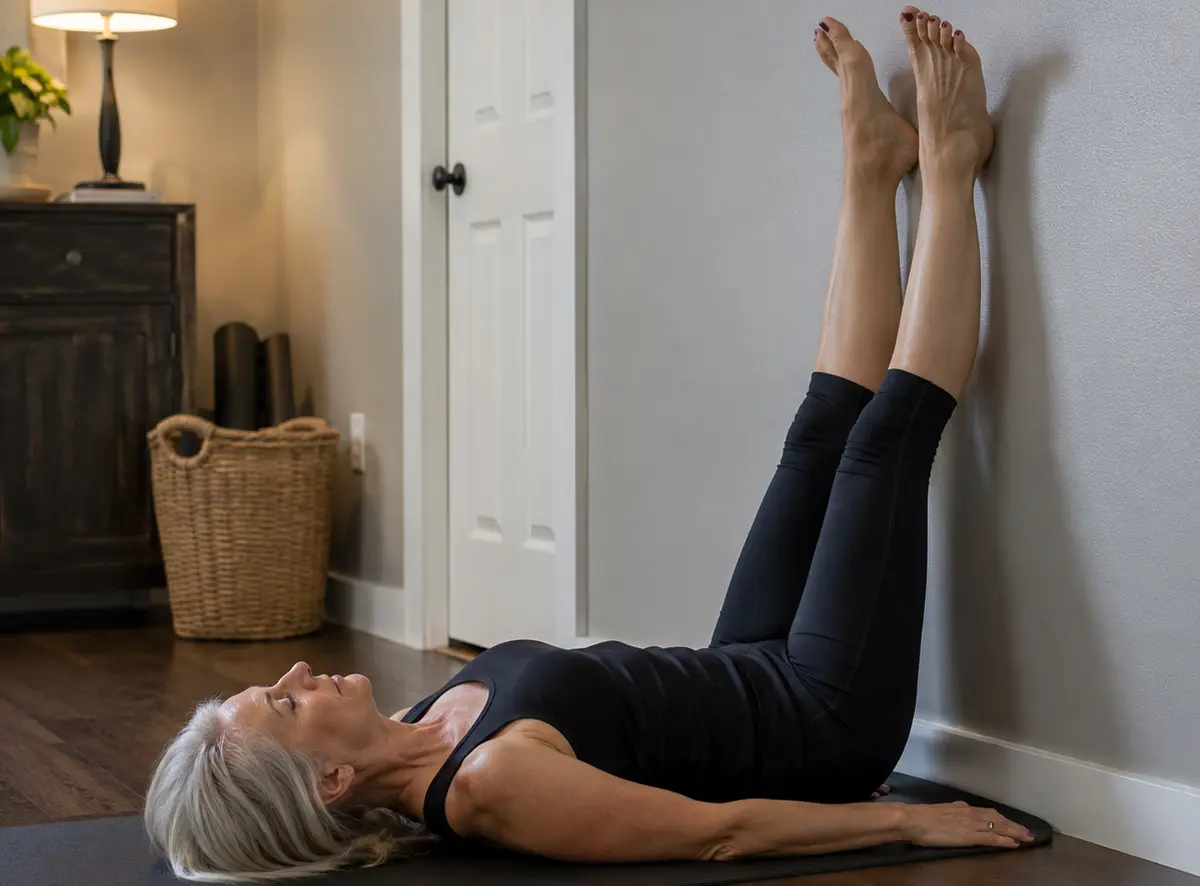
Exercise 3: Wall Marches
In this video, the legs are held up in the air without wall support. In your version, your legs rest against the wall the entire time, which makes it easier on the knees and lower back. Focus on the core and pelvis cues, as those apply directly to your exercise.
What it works: Hip flexors, core stabilizers, pelvic floor.
Why it’s safe: Both legs rest against the wall the whole time. Lifting one heel a few inches requires no knee loading and no balance challenge.
How to do it:
- Lie on your back with both legs resting straight up the wall.
- Engage your core. Back stays pressed into the mat.
- Lift one heel 3 to 4 inches off the wall. Hold for 2 to 3 seconds. Return it.
- Lift the other heel. Alternate legs in a slow, controlled march.
- Do 10 reps per leg, 2 sets.
Progression tip: Once this feels easy, slow the tempo even more. A 5-second hold makes the core work much harder.
Exercise 4: Supported Wall Sit With Inner Thigh Squeeze
In this video, the instructor uses a soft, round ball between the thighs. A folded towel or small yoga block works just as well. The squeeze is what matters, not the prop.
What it works: Inner thighs, pelvic floor, quadriceps, the muscles that control how your knee tracks when you move.
Your First 4-Week Plan: Simple and Doable
You don’t need to do all four exercises every day. Three sessions a week are enough to build real core strength without overloading your body.
Here’s a simple Week 1 schedule:
| Day | What To Do |
|---|---|
| Monday | Glute Bridges + Leg Slides (2 sets each) |
| Tuesday | Rest or a slow walk |
| Wednesday | Wall Marches + Wall Sit Squeeze (2 sets each) |
| Thursday | Rest |
| Friday | All 4 exercises (2 sets each) |
| Weekend | Rest or gentle stretching |
For weeks 3 and 4, add a third set to each exercise. Slow the tempo down. Hold positions a second or two longer. By the end of month one, most people notice smaller improvements, such as getting up from a chair feeling easier, and lower back fatigue during the day decreases. That’s the core doing its job.
Safety Rules You Must Follow With Bad Knees
Conclusion
Bad knees don’t mean no exercise. They mean smarter exercise. Wall Pilates for bad knees builds real core strength after 50 without touching your joints. Pick one exercise. Try it today. Your knees and your core will start to respond faster than you expect.
The wall is your secret weapon. It holds you steady while your core does the real work. You don’t need perfect knees to get stronger. You just need the right method, a few minutes, and the decision to start. That’s it.
⚠️MEDICAL DISCLAIMER
This article is for informational purposes only. It does not replace medical advice, diagnosis, or treatment. The information covers core strength, knee pain, knee osteoarthritis, wall pilates, wall-assisted glute bridge, leg slides, wall reaches, wall marches, supported wall sit with inner thigh squeeze, muscle mass loss, joint pressure, exercise safety, and physical modifications for bad knees.
Individual results vary based on age, health status, and fitness level. Before changing your exercise routine, diet, or supplement use, talk to your doctor or a qualified health professional first. If you experience chest pain, dizziness, severe joint pain, or any sudden symptom during or after exercise, stop immediately and seek medical care.